NFPA 1901 Chevron Reflective Striping Requirements for Emergency Vehicles
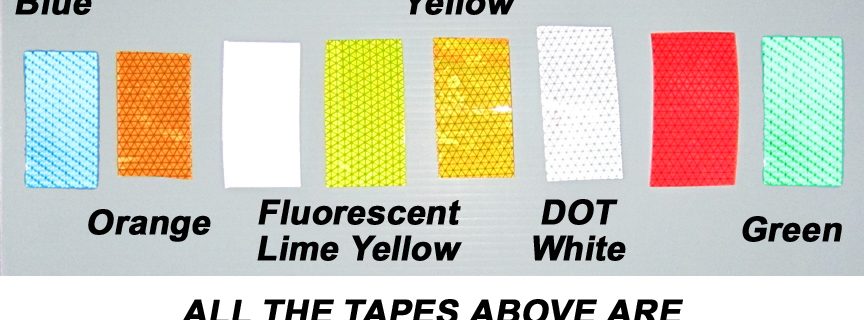
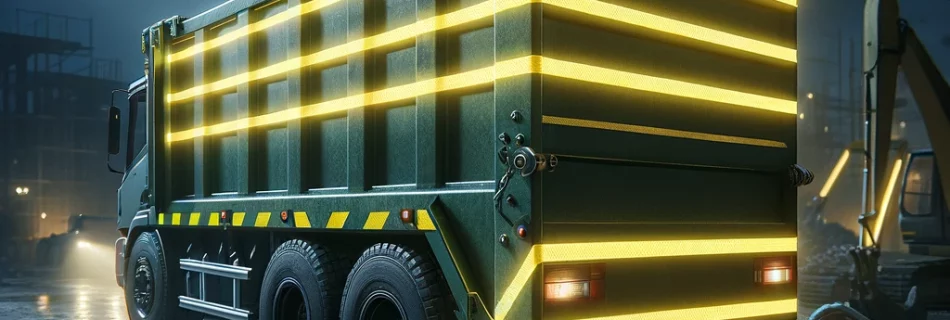
NFPA 1901 Specifications for Fire Trucks – (www.tapedealer.com) The NFPA 1901 recommendation deals with the marking of fire apparatus and emergency vehicles. The recommendation covers the application of reflective tape to the rear of the vehicle in the form of chevron striping, the side of the vehicle and the front. Many insurance companies are requiring …
Read more “NFPA 1901 Chevron Reflective Striping Requirements for Emergency Vehicles”